Have you found an image for your theme or for use in a social media campaign and it’s just not the right size and you don’t have a clue how to fix it? Well here’s a step by step guide on how to resize images with Pixlr. We’ve chosen Pixlr to show you how to do this because it’s online, it’s free and it’s easy! If you have another photo editing software that you’re just itching to use, then get in touch with us, and we’ll be more than happy to offer some assistance with using that software to accomplish this goal instead.
Now onto using Pixlr:
Basic access to Pixlr is free! Basic access is all you need to resize your images, but if you find that you’re having a plethora of fun and you want to use some fancier tools to play with your images then you can always upgrade to a paid option. Pixlr has two photo editors for you to choose from, Pixlr X and Pixlr E. Have a look at both and decide which version you think you’ll be most comfortable using. The instructions below take the use of both versions into account, so no matter which version you choose we've got you covered!
Pixlr X
If you have minimal experience with using editing software, Pixlr X is for you. The interface is simple without too many editing options to overwhelm you.
Pixlr E
You’ll want to choose Pixlr E if you also intend on doing further customisations to your image as it offers more advanced options. Also if you’re somewhat familiar with photo editing software, Pixlr E has an interface that you’re more likely to be used to using.
Resizing options
You have two options to resize your image: you can choose to resize the whole image exactly as is (which is the method you’ll have to use if you want to make the image bigger), or you can choose to resize it by cropping it as well. Either way and with either version of Pixlr your first step will be the same. Select ‘Open Image’ from the side menu:
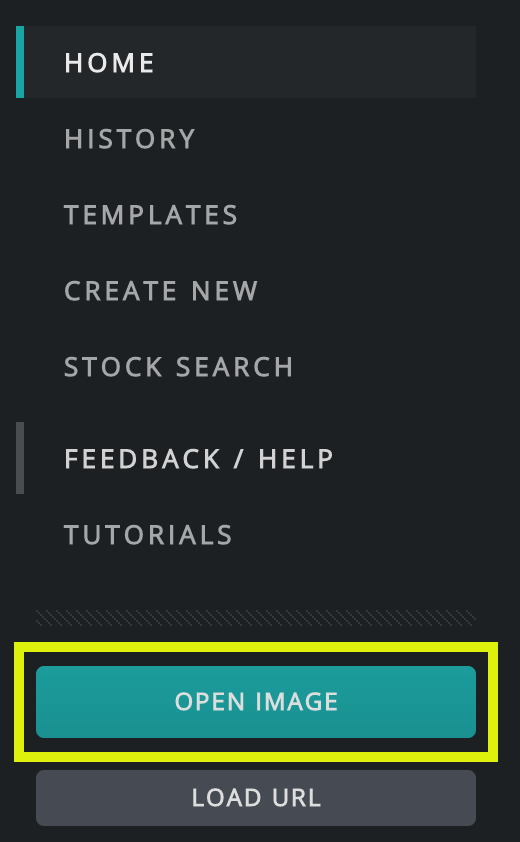
Find and open the image from your computer’s hard drive and follow the instructions below for whichever method you want to use:
To resize an image as is:
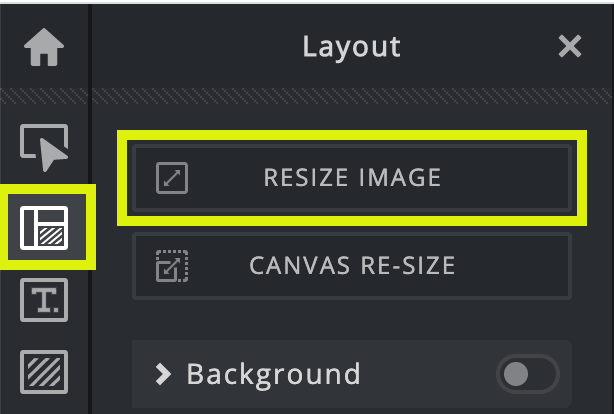
1. For Pixlr X - select 'Layout & Template' then 'Resize Image' from the left menu
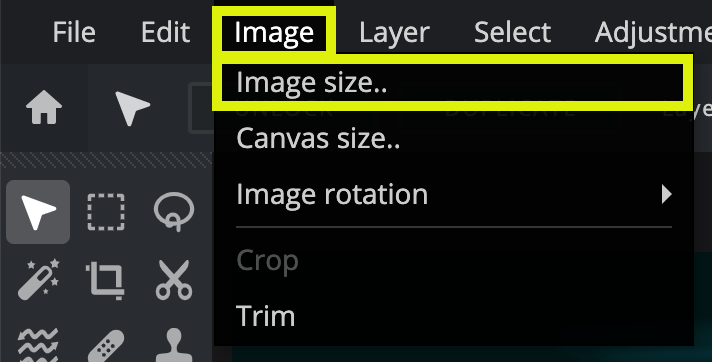
For Pixlr E - select 'Image' then 'Image size' from the top menu
2. This box will appear:
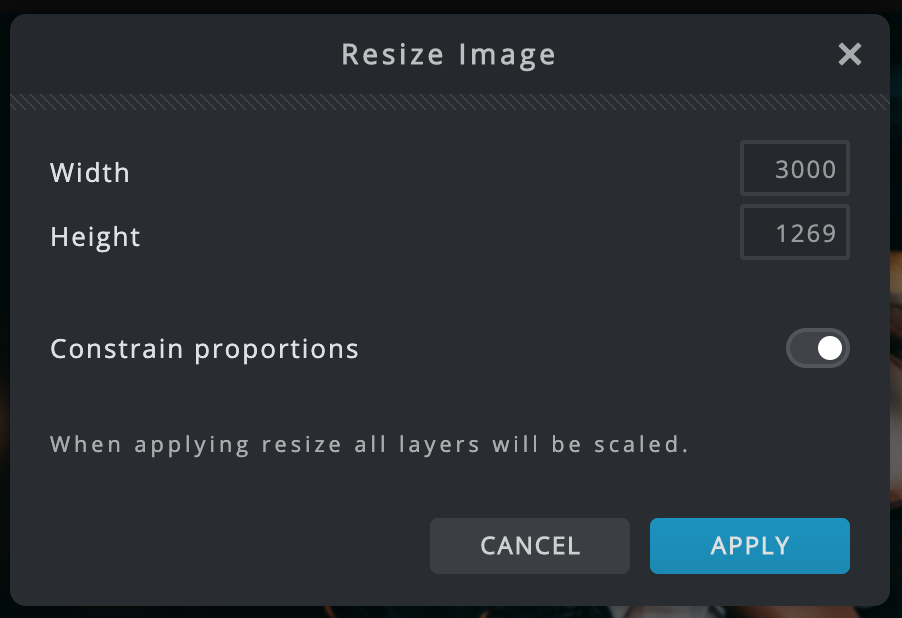
Make sure the ‘Constrain proportions’ switch is turned on (by default it already will be, so just don’t turn it off) to ensure that any number you put in either the width or the height will automatically adjust the other to be proportionate. Enter the size you want the width or the height to be. Then select 'Apply' and your image will change size.
If your image needs to be specific dimensions for both width and height, you can use the above method to initially resize the image entering the specific dimension for either width or height, and then use the crop tool, explained below, to trim the other measurement to exactly where it needs to be. Alternatively, you can use the above method to get the image to the general size you need and then go back through and turn 'Constrain proportions' off to manually adjust both proportions without simultaneously adjusting the other.
To resize an image with cropping:
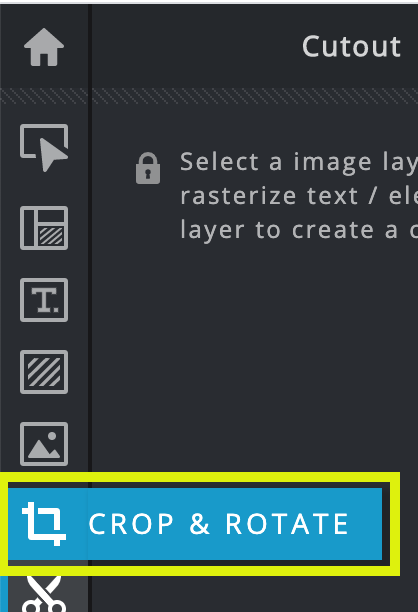
1. For Pixlr X select ‘Crop & Rotate’ from the left menu
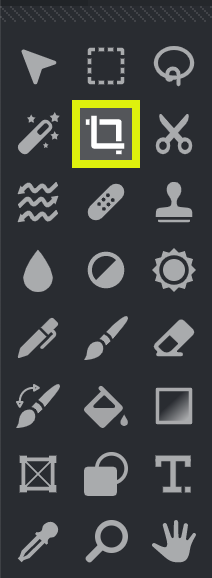
For Pixlr E select the 'Crop' button from the left menu
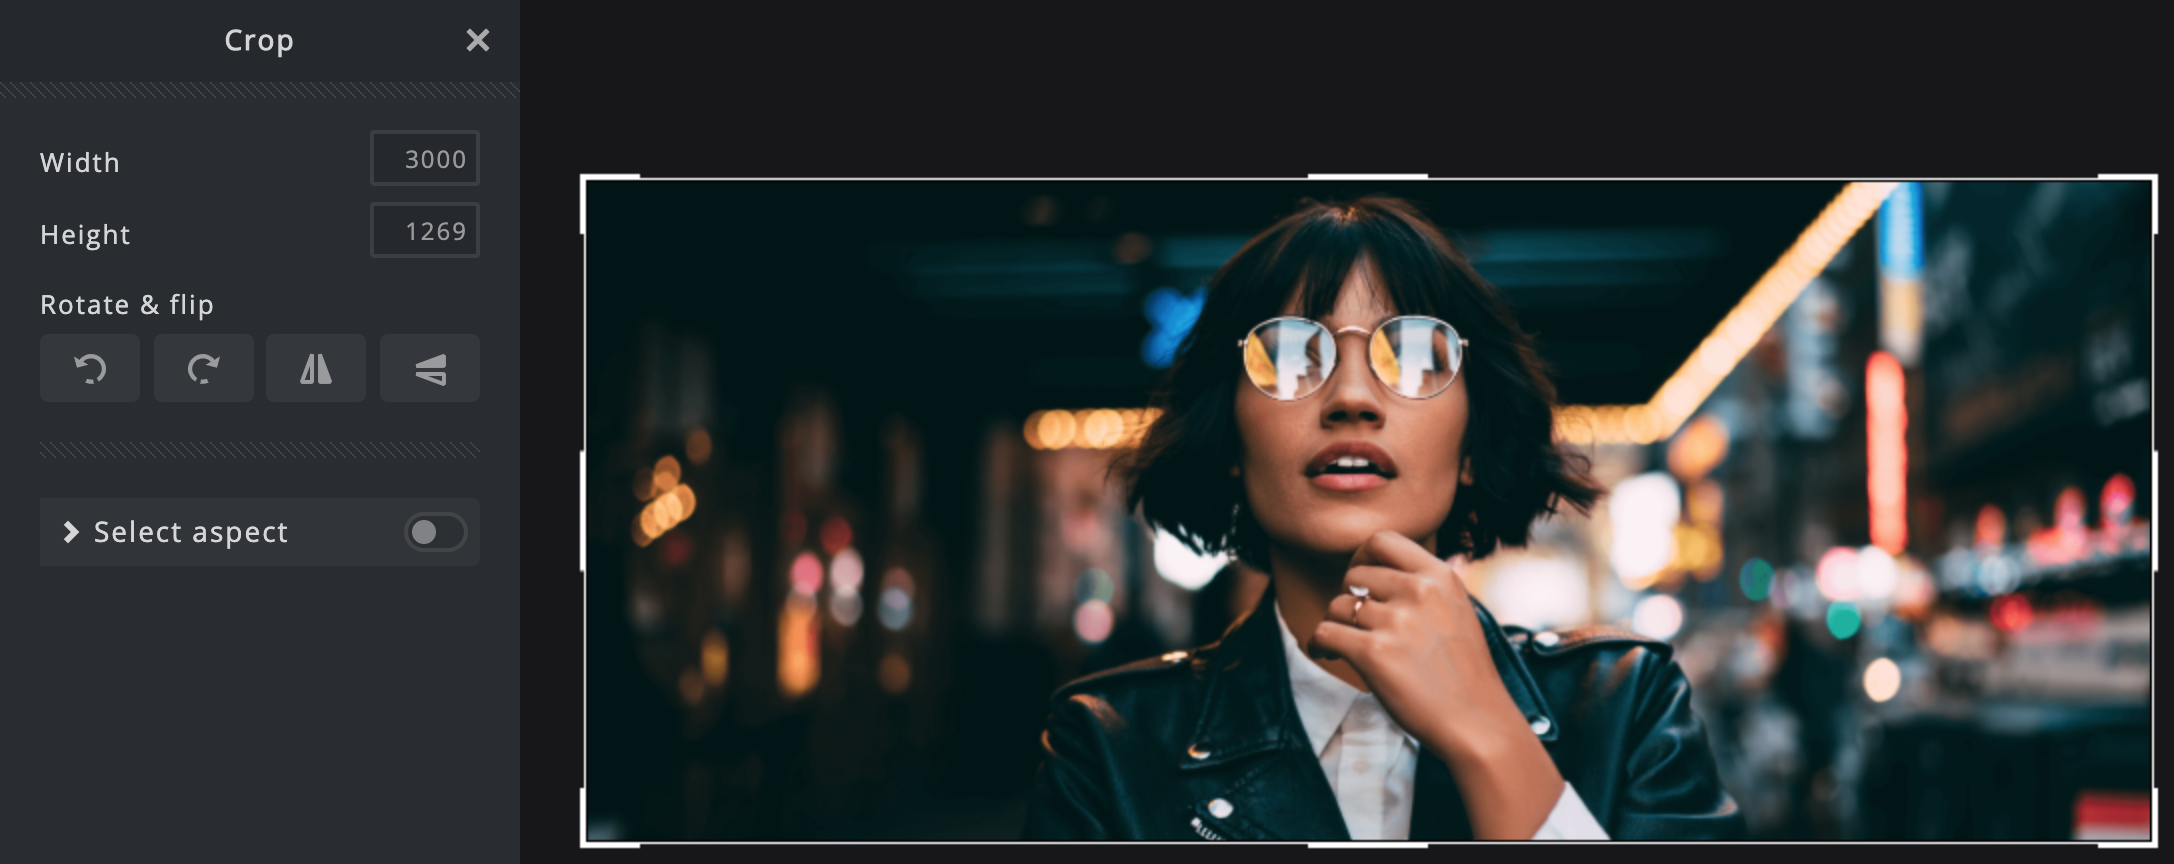
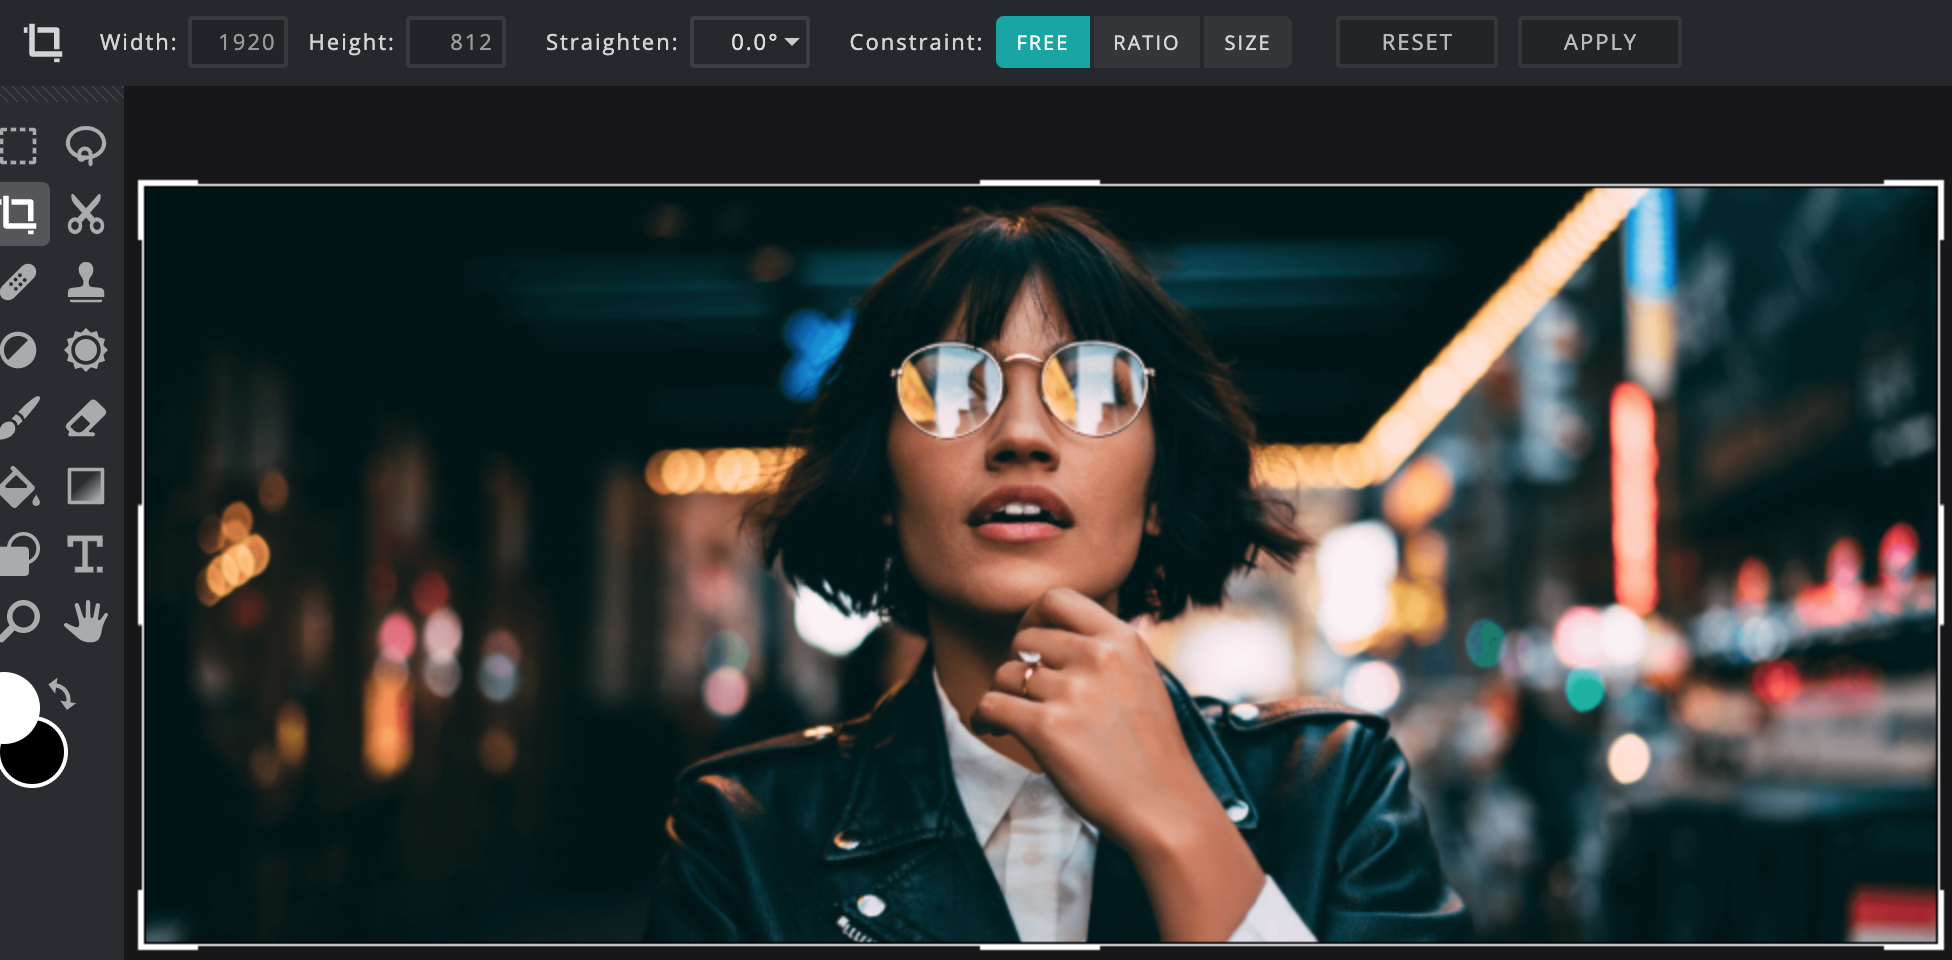
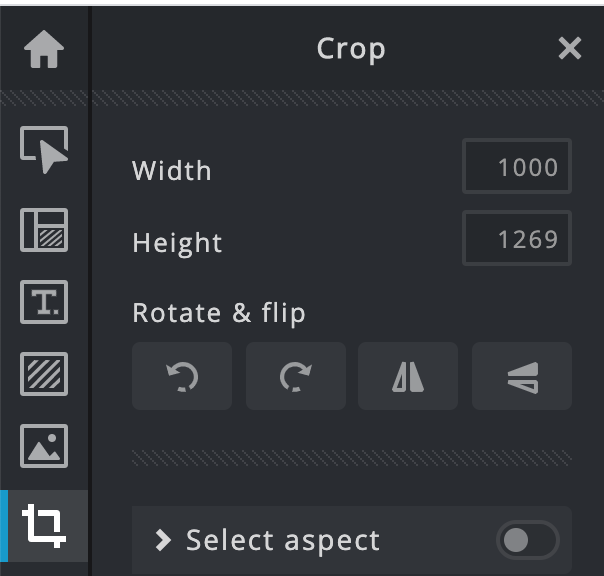
2. On both Pixlr X and Pixlr E this will place a white border around the image and also opens an interface where you can enter sizes for your image:
3. This gives you two options to crop the image:
You can resize the image by dragging the white border, making it smaller and placing it over the part of the image you want to keep:
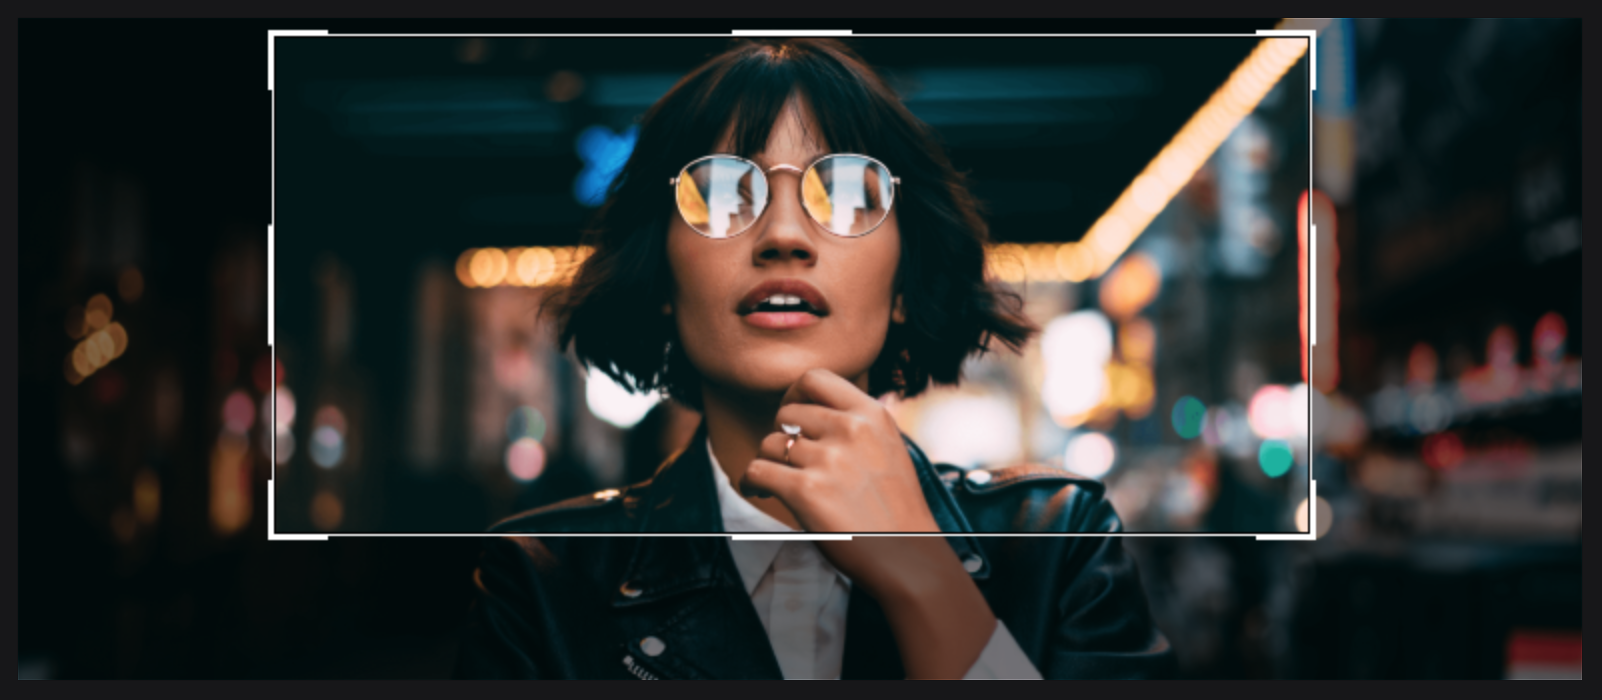
Anything outside of the white border will then be cropped out.
Or you can use the ‘Width’ and ‘Height’ size boxes at the side/top to enter exact proportions if you know the exact size your image needs to be:
Pixlr X | 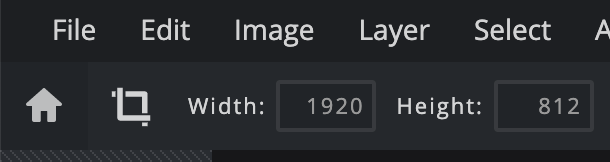 Pixlr E |
Enter your new proportions into the boxes and then drag the white border over the image to the part of the image you want to keep. Once the image sizing looks exactly as you want it to select ‘Apply’ and your image will change in accordance to the settings you configured.
Preset cropping options
When cropping an image, Pixlr X has a very helpful tool which allows you to automatically resize the image to some popular sizes that you might need for images on computers or on your social media profile.
In the ‘Crop & Rotate’ section turn the ‘Select aspect’ feature on:
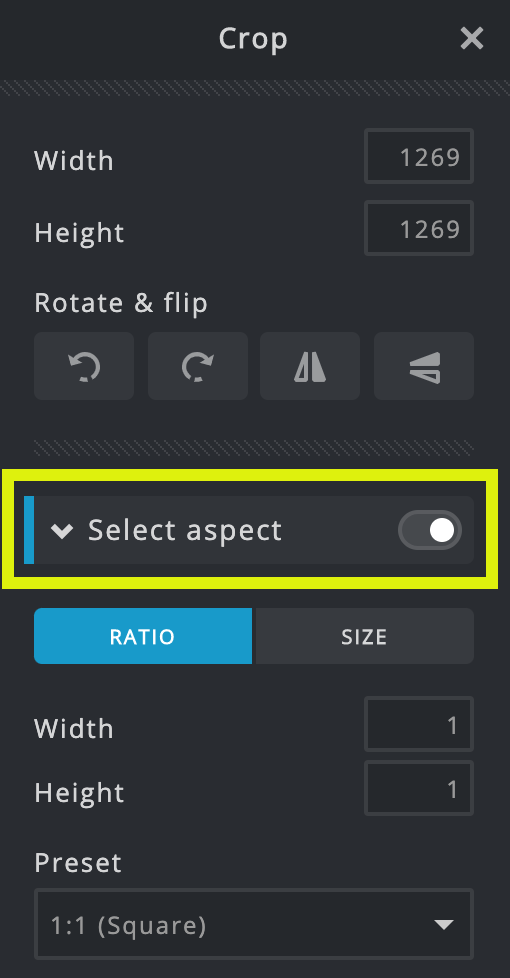
Open the ‘Preset’ dropdown to see a list of options for preconfigured sizes:
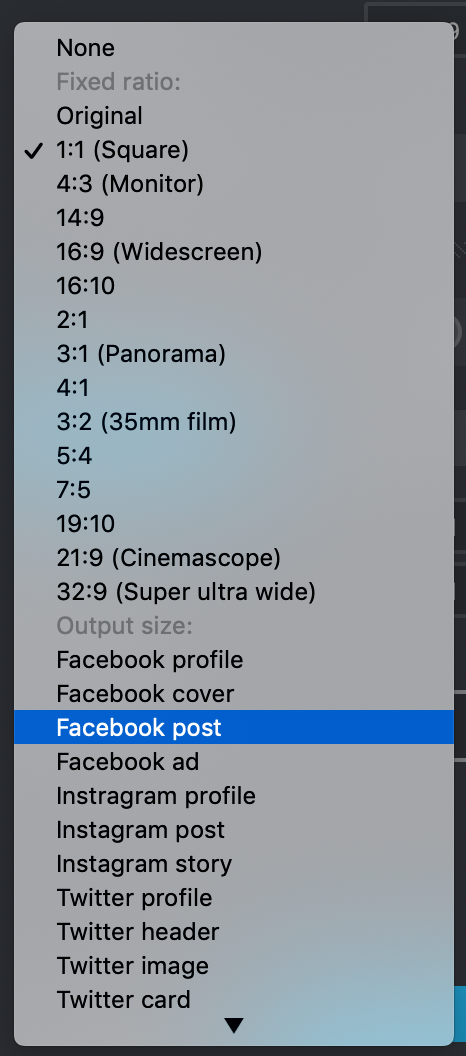
If any of these are what you are intending to use the image for, just click on it and the image ratios will adjust. Select ‘Apply’ and the image will become the size you have asked for.
Related articles
Read more in INSPIRATION FOR IMAGES:
Finding and using great stock photography


 Ecommerce


